A friend asked me to make her baby's baptism cake. She left the design up to me. I searched for ideas, but nothing really caught my eye.
In the meantime, I attended the Louisiana ICES Day of Sharing. The theme for the day was Glitz & Glamor. We saw several demonstrations, but I was most interested in the one presented by
The Two Sweet Sisters from St. Martinville, Louisiana. They showed us how to create a pattern on fondant using a diamond-shaped cutter. They then piped small, royal icing pearls at the intersections of the lines and painted the pearls using super pearl dust. They also showed us how to create strands of pearls using silicone molds. I was so intrigued by what they did that I ordered the supplies a couple of days later.


As the date drew near for me to make the cake, I decided that the cake definitely needed to be covered in fondant since it was traveling to New Orleans. I decided I would try my luck at recreating the beautiful quilted pattern embellished with royal icing pearls. I knew I wanted the cake to be a light blue. But I wasn't sure what was going to go on top of the cake.
The flavor of cake was easy to decide. I baked three, 9" white almond sour cream cakes. When the time came to assemble them, I torted them into six separate layers. I filled them with bavarian cream filling. I covered the cake with a smooth coat of buttercream frosting.
I used Americolor Sky Blue to color the fondant. I immediately knew that I had chosen the wrong color to achieve a pale blue effect. Instead, what I got was a blue that was close to the color of a Tiffany gift box. Pretty, but was it too feminine? Too late to turn back now.
This was my third time covering a cake in fondant. It took me longer than it should have, but I was relatively pleased with the outcome. I then began pressing the diamond cutter into the sides of the cake to create the diamond pattern. The fondant had already begun to set up so I had to press harder than expected to get the cutter to leave a good impression, which caused the buttercream to ooze out. This also cause the fondant to extend lower than the cake board so that I had to trim it a second time. OK. Fine. Lesson learned.

Once I had the pattern all the way around the cake, I placed the cake on the foil-covered cake board. I then piped royal icing pearls using a #2 tip. I piped a section at a time, stopping to go back and flatten the dots into round balls using a dampened paint brush. I then brushed super pearl dust into the pearl strand mold and pressed white fondant into the mold. The result was strands of pre-dusted pearls. The strands tended to break apart, but that wasn't a problem. I held the pearls in place with a bit of royal icing on the cake board.

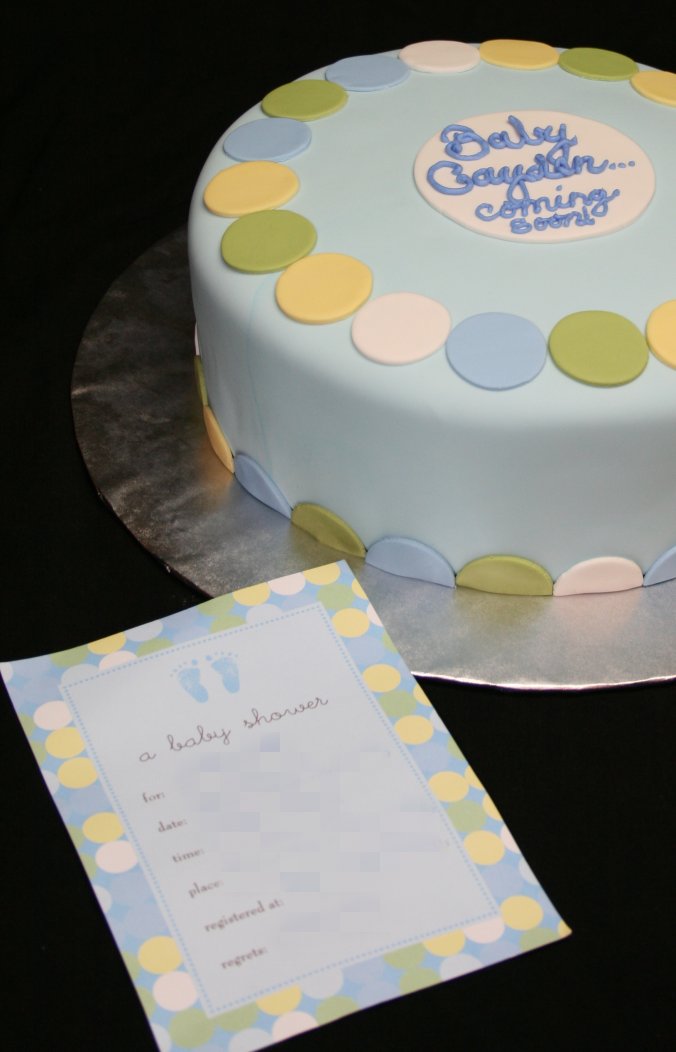
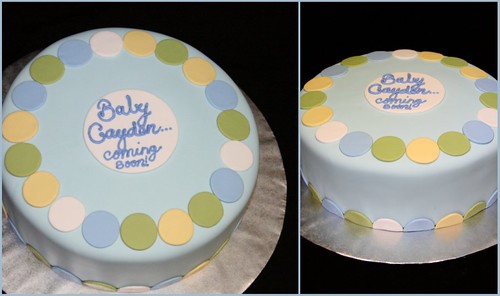
Then I had to decide what to do on the top of the cake. I decided to cut a circle of white fondant and pipe the baby's initials on it, then surround the plaque with pearls. This proved to be a little challenging, but it was easier than trying to write on the cake.
For the finishing touch, I used lemon extract mixed with super pearl dust to paint all the piped pearls as well as the plaque.
My friend arrived shortly after I had finished my usual post-decorating photo shoot. She was very pleased with the cake. I made her husband promise to drive safely so that the cake wouldn't be destroyed on the way. We had a good laugh and agreed that even if it got smashed, it would still taste good!